Small Woodworking Shop Layout: 7 Space-Saving Ideas
Disclosure: DailyWiser is reader-supported. If you buy through links on this page, we may earn a commission at no extra cost to you. Learn more.
Most woodworkers do not start with a dedicated building and a blank cheque. They start with half a garage, a basement corner, or a garden shed that also has to hold bikes, bins and holiday decorations. The good news is that a small space can be a very productive shop, as long as you plan the layout before you buy and bolt things down.
This guide covers seven practical, space-saving layout ideas for a small woodworking shop, plus a short look at UltimateSmallShop, a low-cost planning e-book sold through ClickBank that some beginners use as a starting checklist.
This is a research-based guide. We have not personally tested UltimateSmallShop; product details reflect its official sales page and our earlier UltimateSmallShop review.
Quick Takeaways
- Put almost everything on locking casters so the shop can change shape for each job.
- Use the walls and ceiling for storage, and keep the floor for working.
- Plan power, light and dust collection before you place tools.
- Buy tools only when a real project needs them.
1. Measure first and draw a simple floor plan
Measure the floor, door openings, ceiling height and outlet positions, then sketch the space on graph paper or a free planner. Cut paper rectangles to the footprint of each tool and its working zone. A table saw, for example, needs clear space in front of and behind the blade for long rips. Planning on paper is free; moving a 200-lb tool twice is not.
2. Make everything mobile
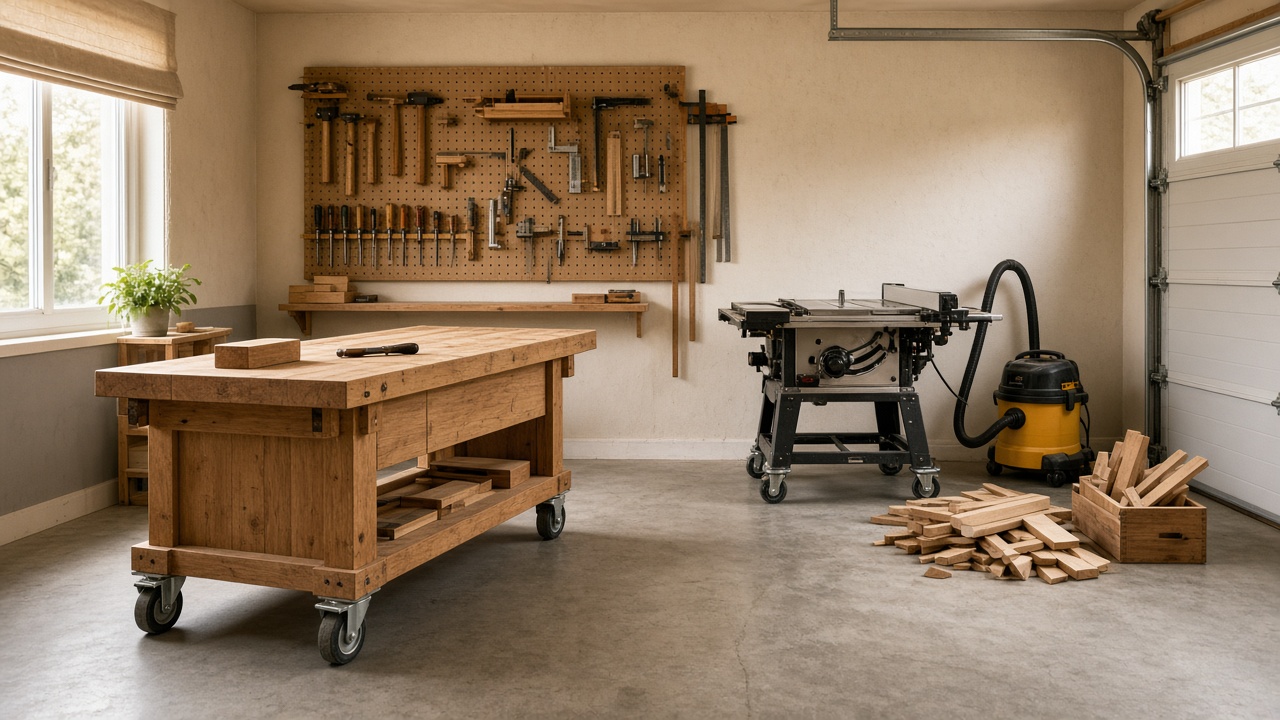
In a shared garage, mobility is the single most useful idea. Mount the workbench, table saw, planer and router table on locking casters or mobile bases. Roll tools out for a session and park them against the wall afterwards. Many small-shop builders also use a flip-top tool stand, which holds two benchtop tools on one rotating platform in the footprint of one.
3. Let the workbench do double duty
Size your bench to match your table saw height so it doubles as an outfeed table. Add drawers or a shelf underneath for clamps and power tools. A sturdy bench on casters becomes your assembly table, outfeed support and storage cabinet in one.
4. Go vertical with French cleats and pegboard
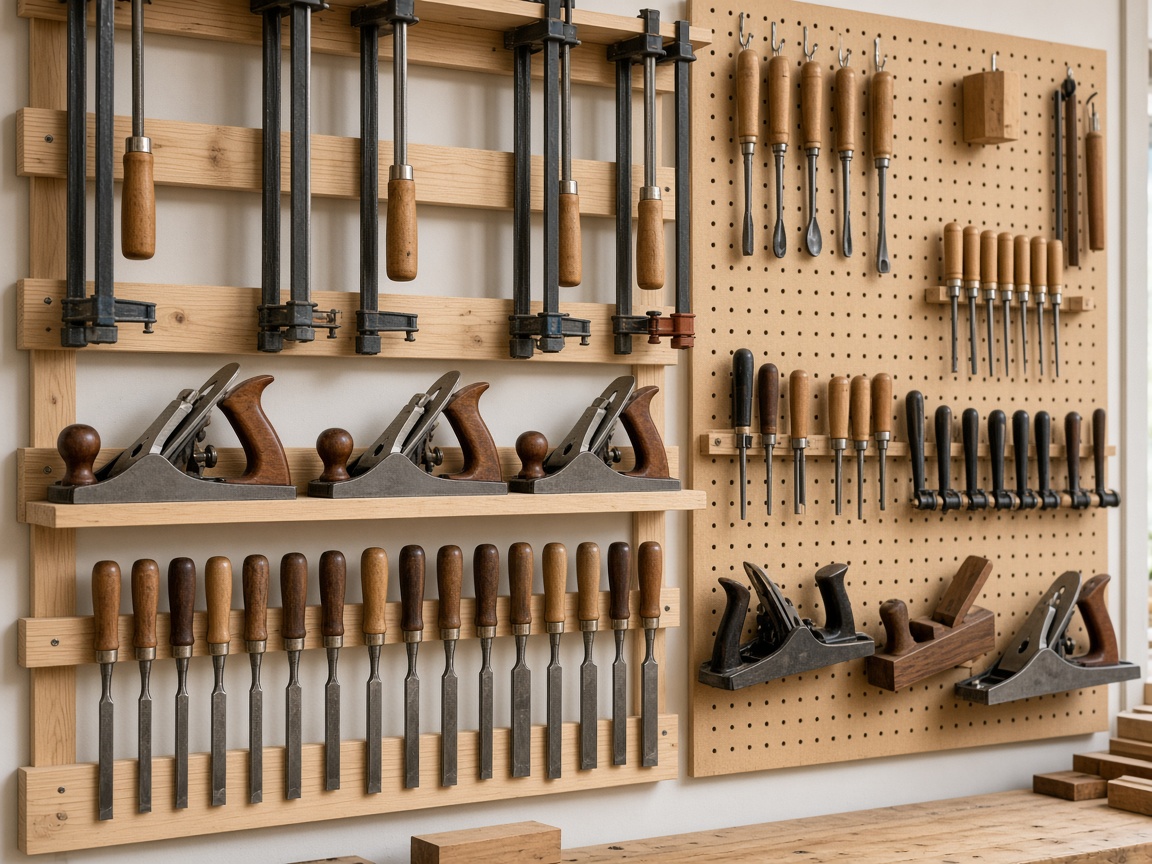
A French cleat wall (strips of plywood ripped at 45 degrees) lets you hang and rearrange holders for clamps, saws, chisels and planes without new screw holes. Pegboard works well for small hand tools. Use high shelves or ceiling racks for seasonal household items so the shop area stays clear.
5. Plan dust collection around mobile tools
Fixed ducting with blast gates suits large, permanent shops. In a small shop, a shop vacuum or compact collector with a cyclone separator and a long hose that can reach each tool is often more practical. Wear a properly fitted respirator for fine dust; the US OSHA wood dust guidance explains why fine dust matters.
6. Sort out power and light early
Count your outlets and check circuit capacity before adding big tools. Avoid daisy-chained power strips, and have a licensed electrician add circuits if needed. Bright, even LED lighting over the bench and saw makes work safer and more accurate.
7. Keep only the tools that earn their space
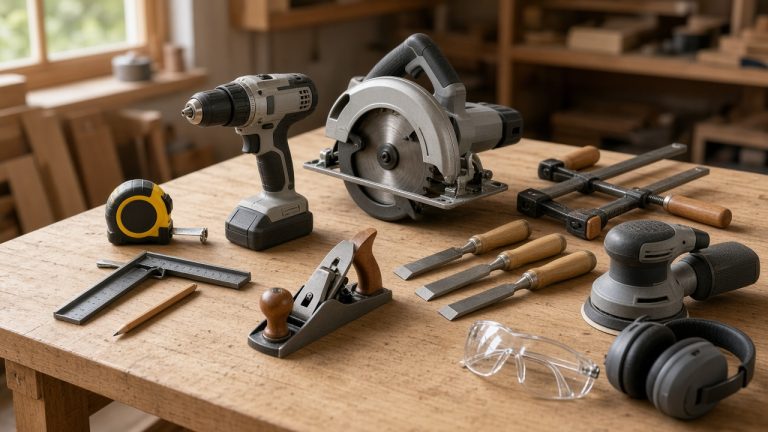
Every square foot counts. Start with a core kit (a good saw, a drill/driver, clamps, a square, chisels and a sander) and add tools project by project. If a tool has not been used in a year, consider storing it elsewhere or selling it.
Watch: a real woodshop in half a garage
This video from Gilham Woodshop shows how one hobbyist built a working shop while the garage still serves the whole family.
Where UltimateSmallShop fits
UltimateSmallShop is a downloadable e-book (about $29 on its official page when we last checked) that walks through tool selection, space planning, layout, electricity, dust and safety for a small home shop. It is aimed at true beginners. In our earlier research, several public reviewers described it as basic, so experienced woodworkers will likely learn little new. If you want a single structured checklist before spending money on tools, it may save some research time; if you are comfortable piecing together free guides and videos like the one above, you may not need it.
- Best for: first-time woodworkers planning a garage, shed or spare-room shop
- Skip if: you already run a working shop or want detailed project plans
Check UltimateSmallShop on the official site
Frequently asked questions
How much space do I need for a woodworking shop?
You can do meaningful work in roughly 100 to 150 square feet, especially with mobile tools and hand tools. Long rip cuts and sheet goods need more clearance, which you can create temporarily by rolling tools out.
What should I buy first?
Buy for your first real project, not for an imagined future shop. A solid bench, clamps, a saw and basic measuring tools cover a lot of beginner projects.
Is a table saw essential in a small shop?
Not always. A track saw or circular saw with a guide can break down sheet goods and takes far less floor space.
Bottom line
A small woodworking shop works best when it is planned, mobile and vertical. Measure first, put tools on wheels, store on the walls and buy only what your projects need. A planning guide like UltimateSmallShop can be a helpful beginner checklist, but the principles above cost nothing to apply.
Safety note: always follow your tool manufacturers’ instructions, use guards and eye, ear and respiratory protection, and consult a licensed electrician for wiring work.
Similar Posts
How to Save Your Marriage When Only One Spouse Is Trying (8 Practical Steps)
Eight practical, research-informed steps for the spouse who still wants to try, the situations where self-help is the wrong tool, and an honest look at where the Save The Marriage program fits.
Woodworking Tools for Beginners: A Starter List for a Small Shop (2026)
A practical starter list of woodworking tools for beginners working in a garage, shed or spare room: what to buy first, what can wait, and where the UltimateSmallShop guide fits.
Pianoforall Review 2026: Is It Worth It for Beginners?
Pianoforall teaches piano through chords and rhythm styles. We cover what you get, the $49 price, the 60-day refund policy, pros and cons, and how it compares with apps and teachers.
7 Gentle Sciatica Stretches to Try at Home (and Where Sciaticyl Fits)
Seven gentle, commonly recommended sciatica stretches you can try at home, with simple safety cues, warning signs that need urgent care, and an honest look at where the Sciaticyl supplement fits.